

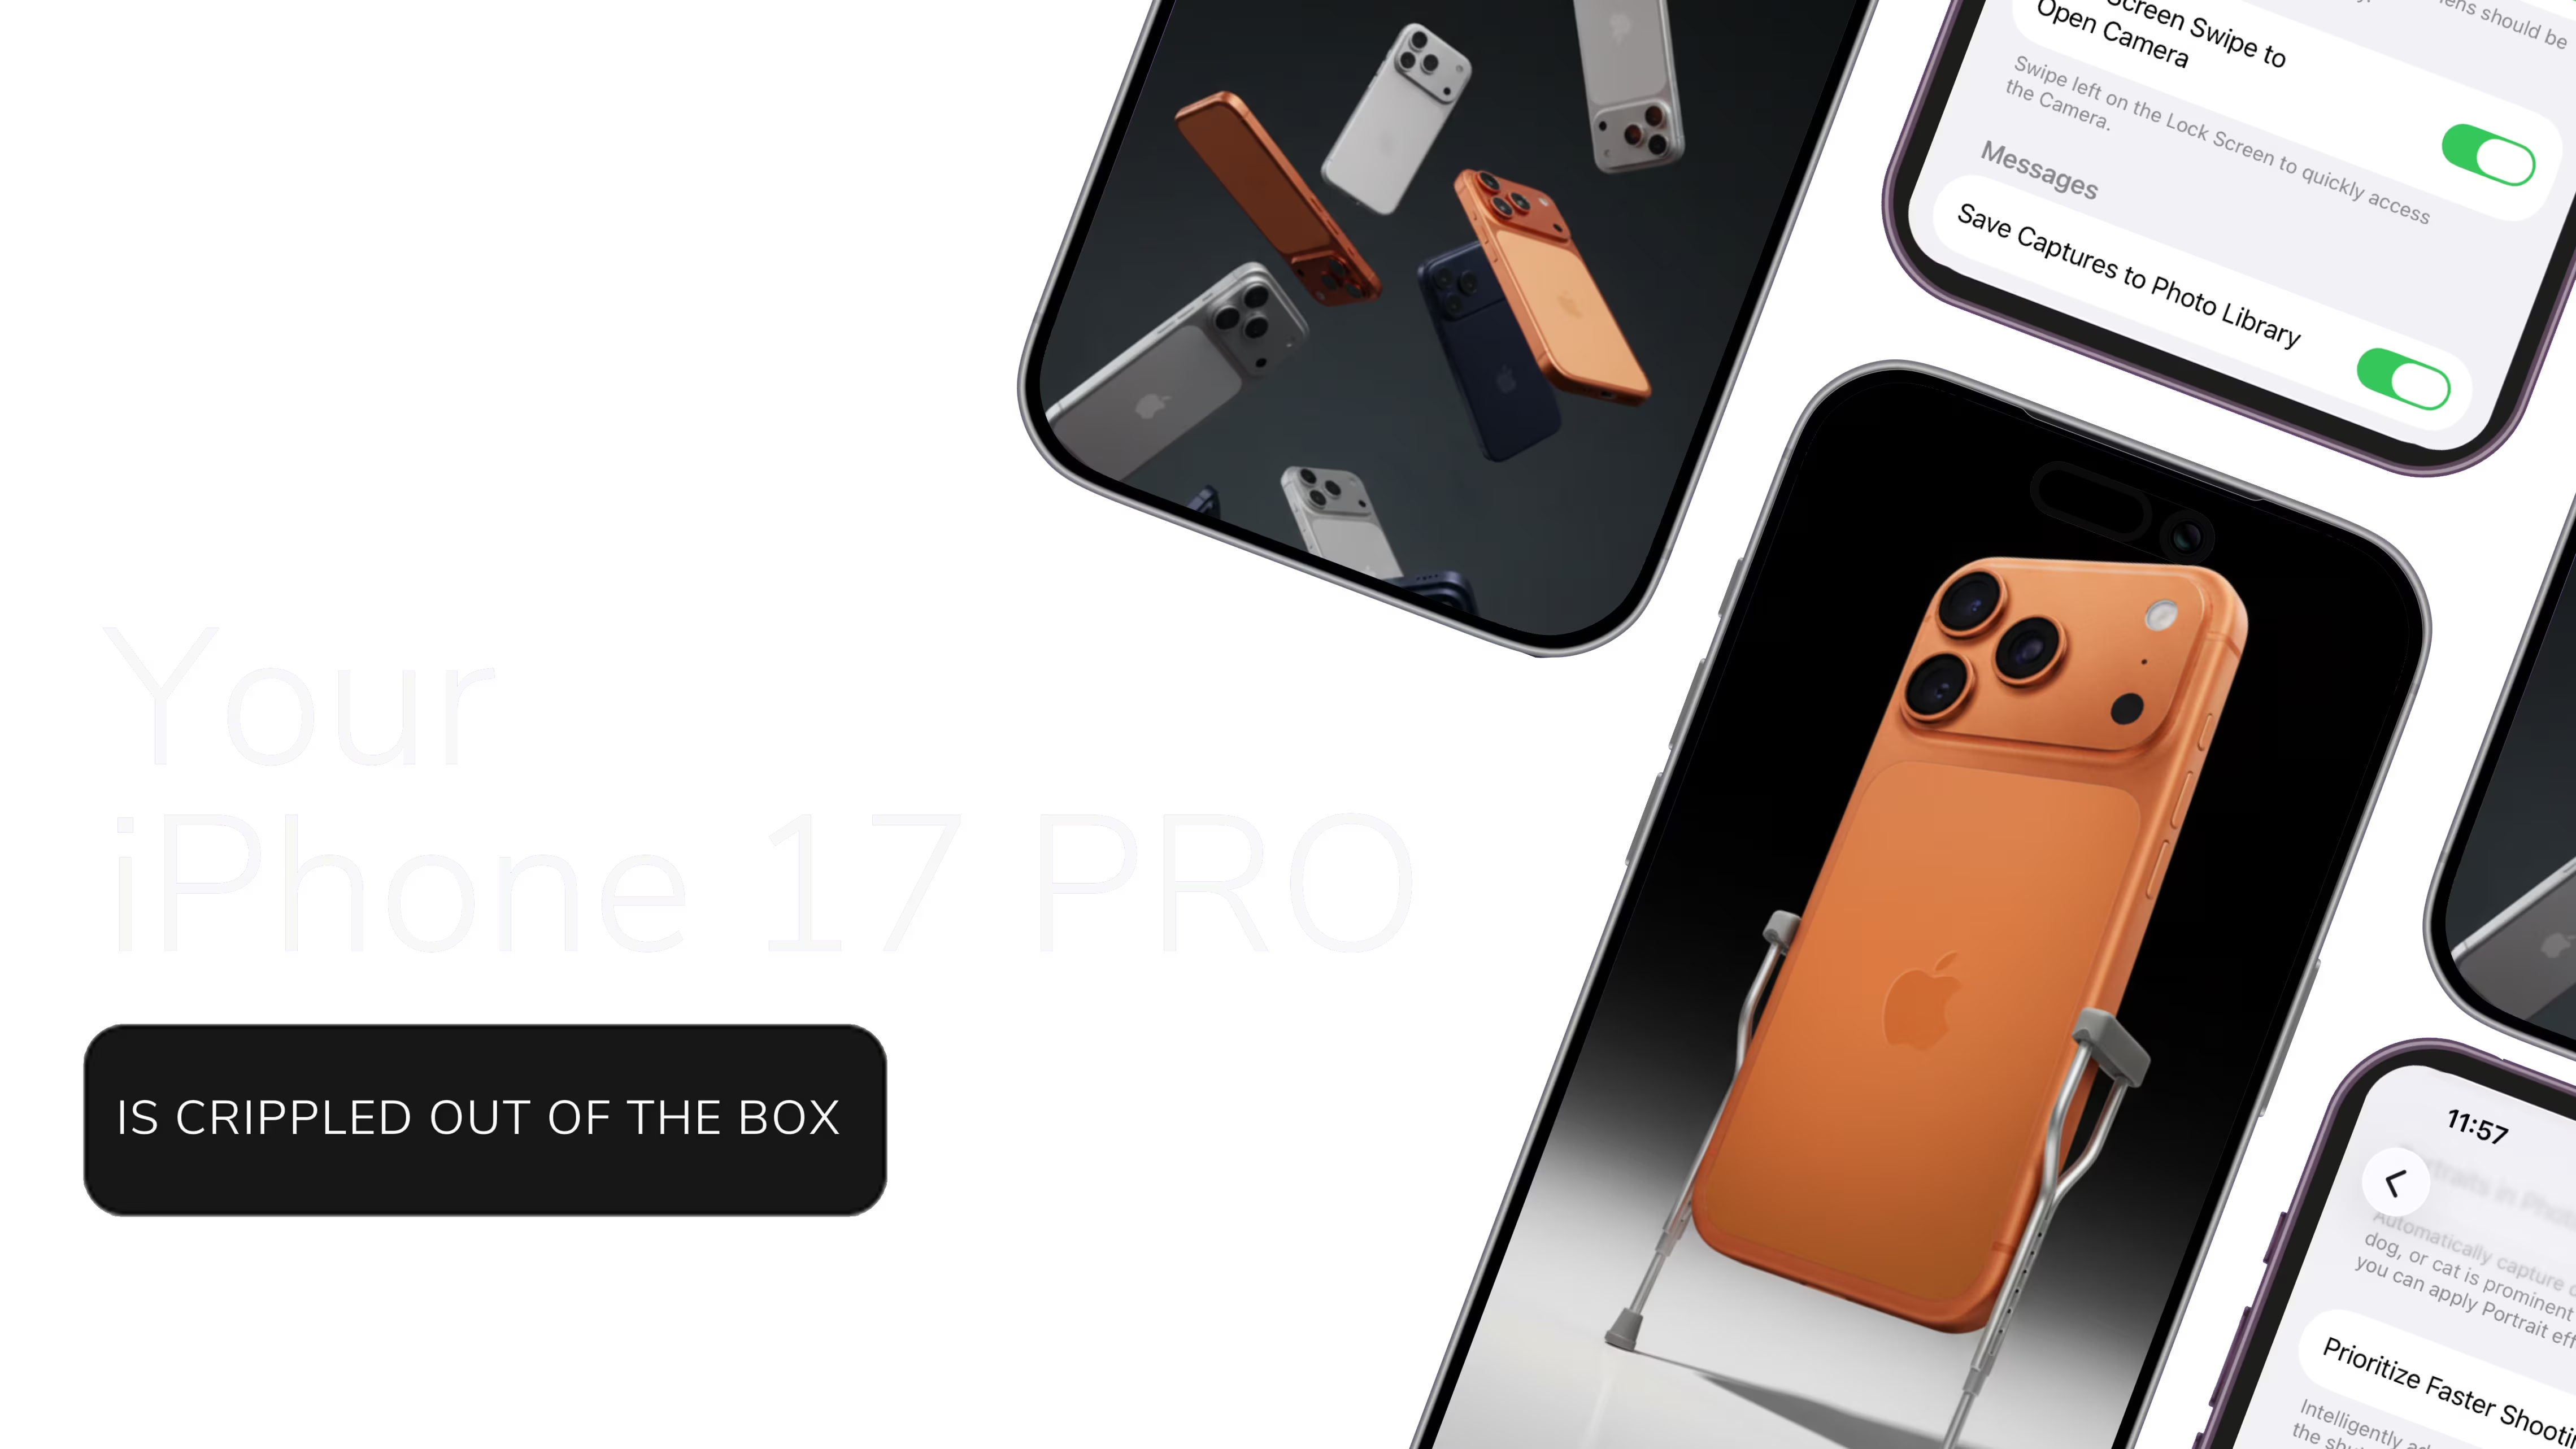
10 iPhone Settings Apple Hides
Stop shooting in "save space" mode. These settings turn your $1,200 phone into an actual camera.
Instant PDF Download
Downloaded by 200+ iPhone 17 Pro owners across the US
You just dropped over a thousand dollars on the iPhone 17 Pro. Three massive lenses. 48 megapixels. It's smarter than the DSLR I used to shoot weddings with.
On paper, it's a beast.
So why do your photos still look... fine?
Maybe a little gray. A little blurry when the kids run. Just okay.
It's because Apple ships this phone in "Save Space" mode. They assume you're going to take 10,000 photos of your cat, never delete a single one, and then call support complaining your phone is full.
So they crunch your files. They turn off the high-data sensors. They optimize for storage, not memories.
"I spent three weeks testing every single toggle in the settings menu. I shot the same scenes over and over. I put them on my calibrated monitor. Most settings do absolutely nothing. These 10 change everything."
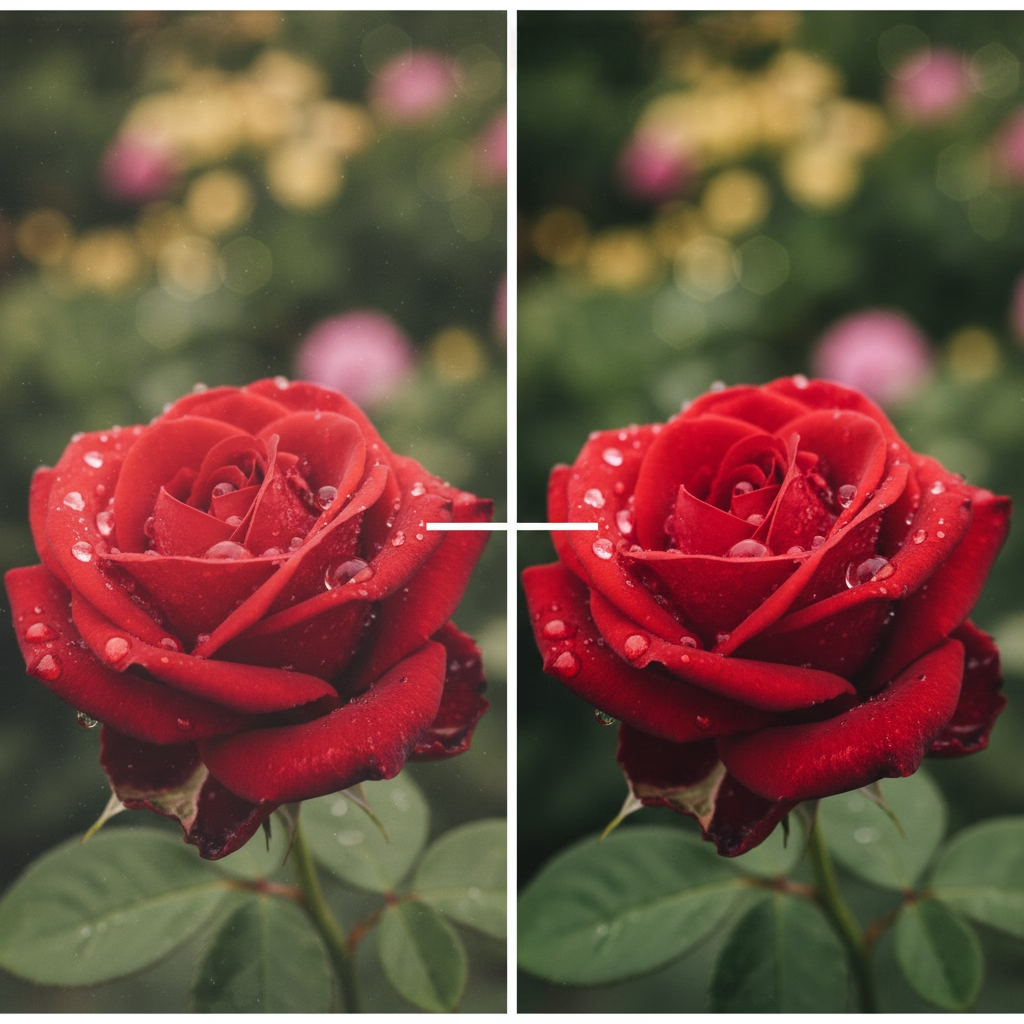
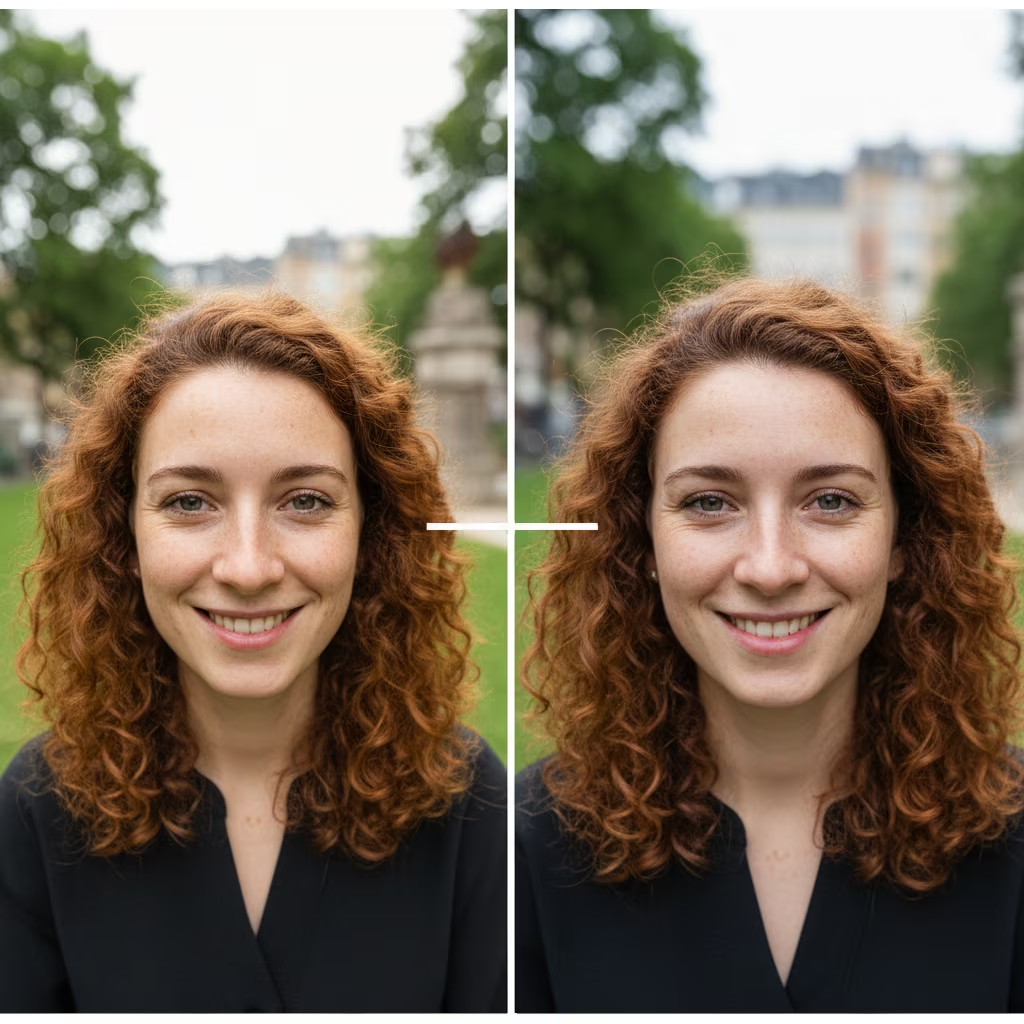
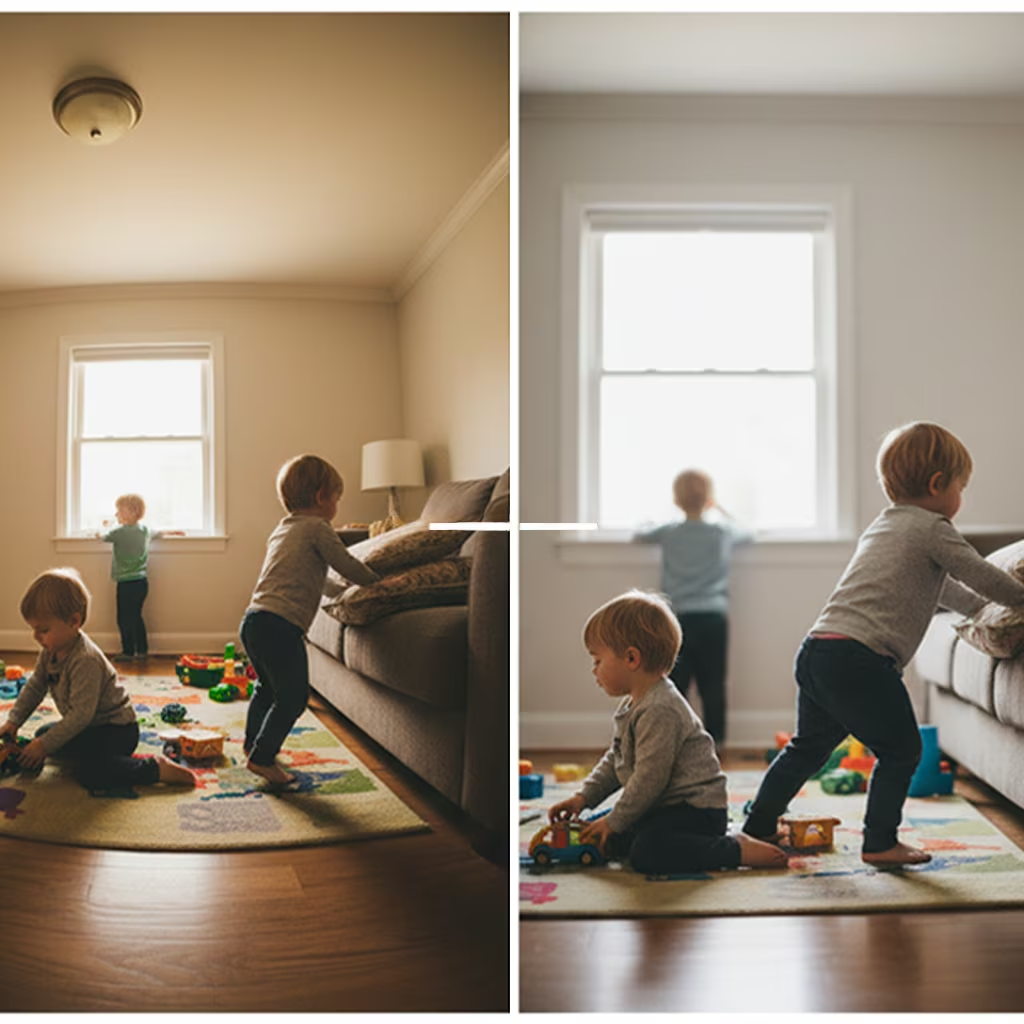
Sarah M.
"I had no idea my phone could take photos like this. My husband thought I bought a new camera."
Jessica R.
"Ten minutes. That's all it took. My photos already look completely different."
Michelle T.
"Worth way more than $12.95. I stopped pulling out my DSLR for family stuff."
Got an iPhone 17 Pro Max?
This guide works for you too. The camera hardware and settings are identical across both models. Every toggle, every setting, same results.
How it changes how you take pictures.
No fluff. No theory. just the toggles you need to flip.
Stop the fish-eye faces
The default lens is too wide. It distorts edges and makes people look... weird. We'll set a new default that flatters humans.
Freeze the chaos
Kids don't pose. They run. I'll show you how to keep the shutter fast so you get sharp eyes, not motion blur.
Fix the "Indoor Yellow"
Shooting inside at night usually makes everyone look like they have jaundice. One setting fixes this permanently.
Video that looks like a movie
The default video settings are choppy. We'll switch to a frame rate that makes everything look silky smooth and professional.
Print-quality files (without the file size)
There is a hidden format that gives you the editing flexibility of a raw photo but takes up half the space. It's the only thing I shoot in.
Peek inside the guide
Real pages from the PDF. No fluff - just the settings and why they matter.
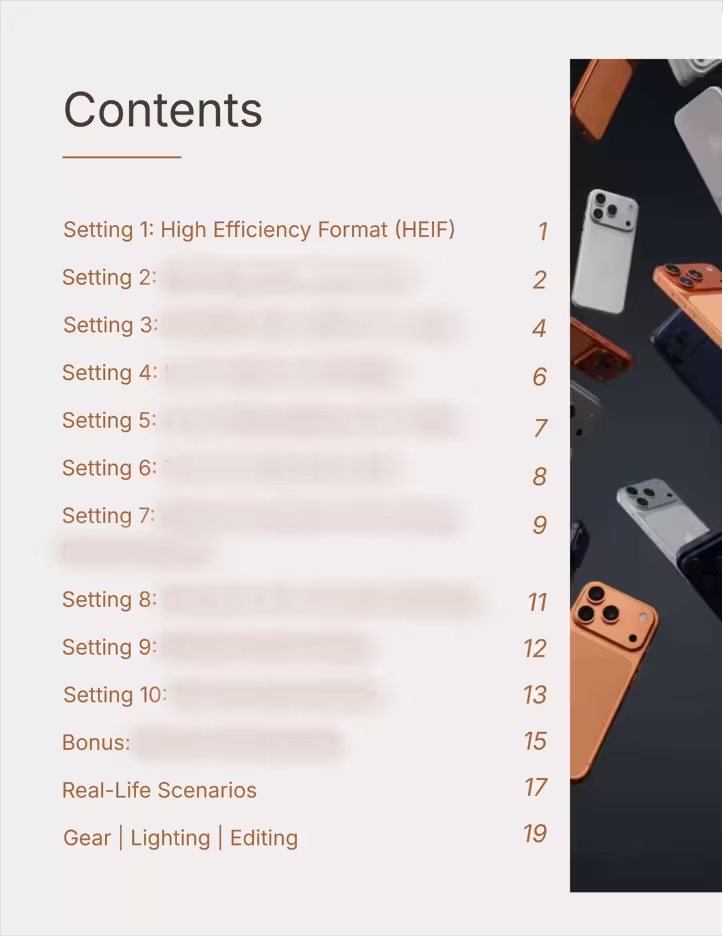
Table of Contents
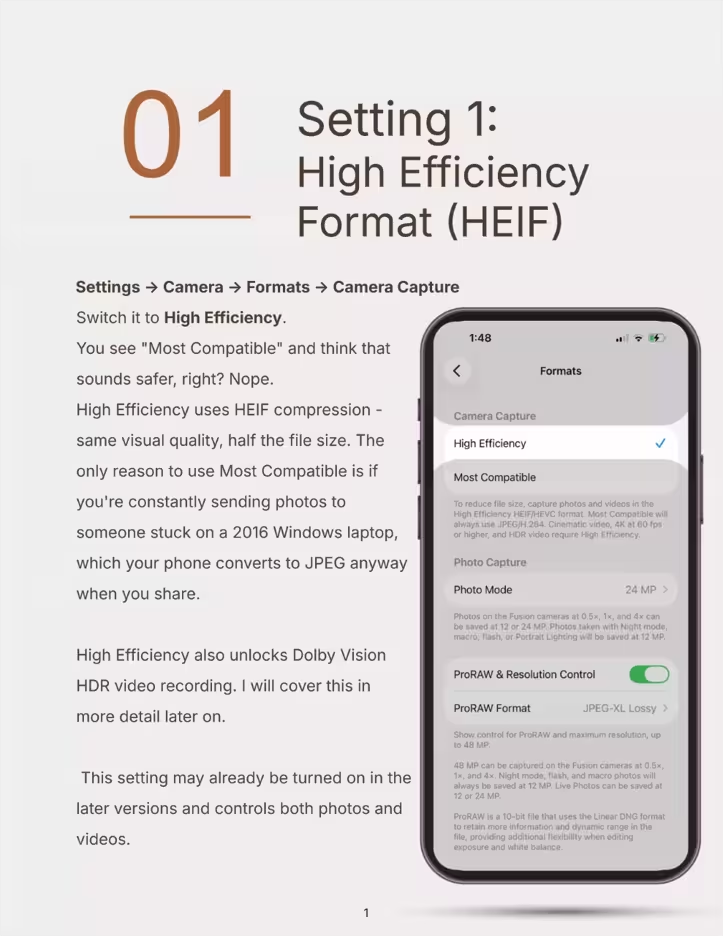
Sample Setting Page
I'm also throwing in the cheatsheets.
-
The Macro Guide
You can get within 2cm of a flower or a ring with this phone. But you have to know how to force the lens to switch. I'll show you how.
-
The "Real Life" Scenarios
Exactly what to toggle on for: Beach days (bright sun), School plays (low light/far away), and Talking Head videos (for your business).
-
Gear & Tools
Don't waste money on iPhone lenses. You only need minimal tools to make your iPhone 17 Pro camera be your favorite camera.
The iPhone 17 Pro camera settings that actually matter
Four of them, free, with the exact taps. Do these before you read anything else. The other six, the order to shoot in, and what to do with the files afterwards are in the guide.
1. Turn on ProRAW and stop shooting at 12MP
Settings → Camera → Formats. Turn on ProRAW & Resolution Control, then set ProRAW Resolution to 48MP.
Out of the box your 48 megapixel camera saves 12 megapixel photos. Apple does that to keep file sizes small, and it is the single biggest thing holding your pictures back. The difference shows the moment you crop, or print anything bigger than a postcard. Yes, the files get large. Storage is cheaper than a photo you cannot use.
2. Stop your camera forgetting what you told it
Settings → Camera → Preserve Settings. Turn on Creative Controls, Exposure Adjustment and Night Mode.
By default the camera resets every time you close it. You set your exposure, frame the shot, and the app throws it away while you are walking to the next one. This is the setting nobody tells you about and it is the one you will feel every single day.
3. Pick your lens instead of letting the phone pick
Settings → Camera → Main Camera. Under Default Lens, choose 28mm or 35mm.
24mm is wide. It is why your friends look stretched at the edges of group photos and why food shots look slightly wrong. 35mm is close to what your eye actually sees, and it is the focal length most portrait photographers reach for first. Change this one and your photos will look more professional without you doing anything differently.
4. Turn on the grid and the level
Settings → Camera. Turn on Grid and Level.
A crooked horizon is the fastest way to make a good photo look amateur, and it is the easiest thing in the world to fix while you are standing there. The grid also stops you putting every subject dead centre, which is the other habit that flattens phone photos.
Those four take about two minutes and will change every photo you take from here on. The guide has the other six, plus the part that actually matters: which one to reach for in harsh sun, indoors at night, or when a toddler will not sit still, and what to do with a 48MP ProRAW file once you have one.
Common questions
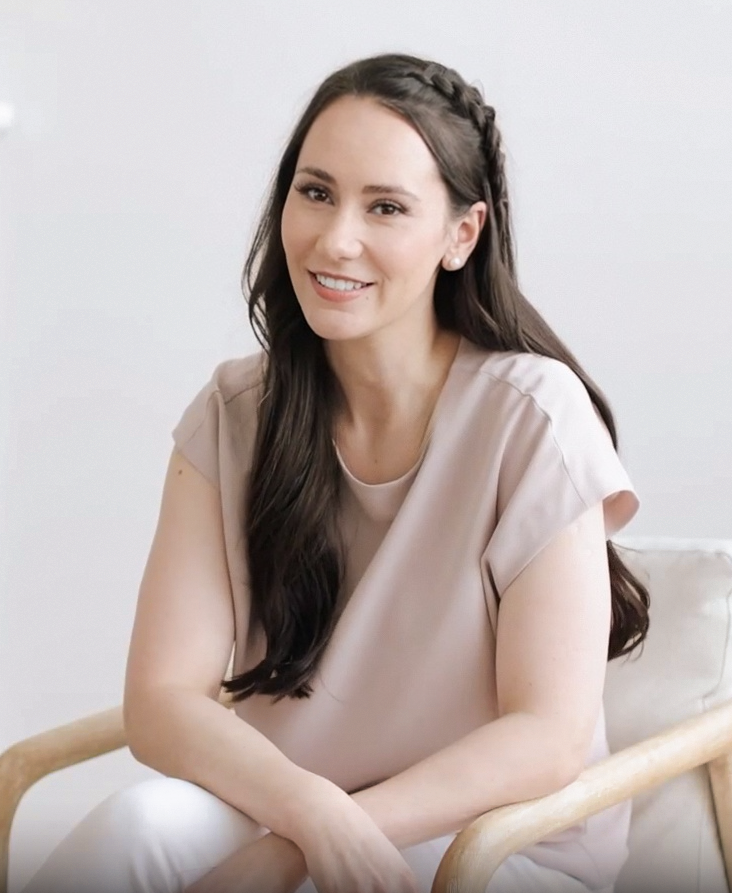
Written by
Anna Bauman
I'm a Pittsburgh photographer. I shoot headshots and seniors for a living.
I wrote this because I was tired of hearing my friends say, "I have this expensive phone, so why do my pictures look bad?" It's not you. It's the default settings. Let's fix them in ten minutes.
Fix your camera roll today.
It costs less than taking your family to lunch.